Create your free appointment scheduler in Excel
Build a functional Excel appointment scheduler to log clients, calculate durations, and track bookings.
By the end of this, you'll have a functional Excel spreadsheet set up to log client appointments, automatically calculate durations, and even flag upcoming or overdue bookings. Many people searching for an "appointment scheduler template Excel free" need a quick, practical solution without complex setup. This guide will walk you through building that yourself, or point you to pre-built options if you prefer.
You can certainly find an "appointment scheduler template Excel free," but building your own offers a level of customization that often proves more valuable long-term. We’ll cover the essential columns you need, how to set up simple formulas for tracking, and even a touch of conditional formatting to make your schedule visually intuitive. This approach ensures the tool fits your specific workflow, whether you’re a freelancer, a small business owner, or managing a team’s client interactions.
Essential Columns for Your Scheduler
Let's start with the backbone of any scheduler: the data fields. Think about what information you absolutely need to track for each appointment. Too few, and it's not useful; too many, and it becomes cumbersome. Here’s a solid starting point for your columns:
- Appointment Date: The specific date the appointment is scheduled for.
- Start Time: The exact time the appointment begins.
- End Time: The exact time the appointment concludes.
- Client Name: The full name of the person you are meeting with.
- Client Contact: An email address or phone number for the client.
- Service/Purpose: A brief description of what the appointment is for (e.g., "Consultation," "Project Review," "Follow-up").
- Status: This could be "Scheduled," "Completed," "Cancelled," or "No-Show."
- Notes: Any additional relevant details about the appointment.
For a robust booking system, consider adding columns like "Booking Date" (when the appointment was made) and "Follow-up Date" (when the next interaction is due).
Calculating Appointment Duration
One of the most practical uses of a spreadsheet scheduler is automatically calculating how long each appointment lasts. This is straightforward with Excel formulas.
- 01Ensure Time Formatting: First, make sure your "Start Time" and "End Time" columns are formatted as "Time." Select the columns, right-click, choose "Format Cells," and then select "Time" from the Number tab.
- 02Enter the Formula: In a new column, let's call it "Duration," enter the following formula in the first row (assuming your "Start Time" is in column B and "End Time" is in column C, and this is row 2):
=C2-B2
- 03Format the Duration Column: This formula will give you a decimal representation of the time difference. To make it more readable (e.g., "1:30" for 1 hour and 30 minutes), format this "Duration" column as "Time" as well. Excel will automatically interpret the difference correctly.
- 04Drag Down: Click the fill handle (the small square at the bottom-right of the cell with the formula) and drag it down to apply the formula to all your appointment rows.
This simple calculation saves you manual effort and reduces errors. If you're looking for a more automated scheduling experience from the outset, a template like the Appointment Book can pre-configure these calculations for you.
Tracking Appointment Status
The "Status" column is key for managing your schedule effectively. You can manually type "Scheduled," "Completed," etc., but we can make this more efficient and less error-prone.
Using Data Validation for Status:
- 01Select the Status Column: Highlight the entire "Status" column (or the range you'll be using for status).
- 02Go to Data Validation: On the "Data" tab in Excel, click "Data Validation."
- 03Choose "List": Under the "Settings" tab, in the "Allow" dropdown, select "List."
- 04Enter Your Options: In the "Source" box, type your desired statuses, separated by commas:
Scheduled,Completed,Cancelled,No-Show. - 05Click OK: Now, when you click on any cell in your "Status" column, a dropdown arrow will appear, allowing you to select from your predefined list. This ensures consistency and prevents typos.
This method is far superior to free-typing statuses, especially if multiple people might access the sheet.
Visualizing Your Schedule with Conditional Formatting
Conditional formatting is where your spreadsheet truly comes alive, providing quick visual cues. Let’s use it to highlight overdue appointments and appointments that are completed.
Highlighting Overdue Appointments:
- 01Select Your Data Range: Highlight all the cells in your schedule, or at least the "Appointment Date" and "Status" columns.
- 02Open Conditional Formatting: Go to the "Home" tab, click "Conditional Formatting," and then "New Rule."
- 03Choose "Use a formula to determine which cells to format":
- 04Enter the Formula: Assuming your "Appointment Date" is in column A and "Status" is in column H, and you are applying this to row 2, the formula would be:
=AND(A2<TODAY(), H2<>"Completed", H2<>"Cancelled") This formula checks if the appointment date is in the past (A2<TODAY()) AND the status is not yet "Completed" or "Cancelled."
- 05Set Formatting: Click the "Format" button, go to the "Fill" tab, and choose a color (e.g., light red) to indicate overdue. Click "OK" twice.
Highlighting Completed Appointments:
- 01Select Your Data Range: Again, highlight your data range.
- 02Open Conditional Formatting: "Home" tab > "Conditional Formatting" > "New Rule."
- 03Choose "Use a formula to determine which cells to format":
- 04Enter the Formula: Using the same column references:
=$H2="Completed" This simply checks if the status in column H is "Completed."
- 05Set Formatting: Click "Format," choose a less alarming color for the "Fill" (e.g., light green or grey), and click "OK" twice.
Now, your overdue appointments will stand out, and completed ones will be visually distinct, helping you quickly scan your schedule.
Mistakes to Avoid with Your Scheduler
Even with a well-designed template, common errors can undermine its usefulness.
- Inconsistent Time Entry: Mixing 12-hour (e.g., 2:00 PM) and 24-hour (e.g., 14:00) formats, or forgetting AM/PM, will break duration calculations. Stick to one format and ensure Excel recognizes it.
- Ignoring Data Validation: Relying on manual typing for status or client names leads to typos and makes sorting or filtering difficult. Use dropdowns and validation rules whenever possible.
- Not Backing Up: Spreadsheets can be lost or corrupted. Regularly save a backup copy, or use cloud storage like OneDrive or Google Drive for automatic versioning.
- Overcomplicating: Trying to build a CRM within Excel can lead to a confusing, unmanageable file. Focus on the core scheduling needs. For complex customer relationship management, dedicated software is usually a better fit. If you need a simple way for others to book slots, an Appointment Sign Up Sheet could be ideal.
When a Pre-Built Template is the Right Choice
While building your own scheduler is empowering, sometimes you just need a ready-to-go solution. If your primary goal is to quickly get an appointment system operational without dedicating time to setup, exploring pre-built options is smart.
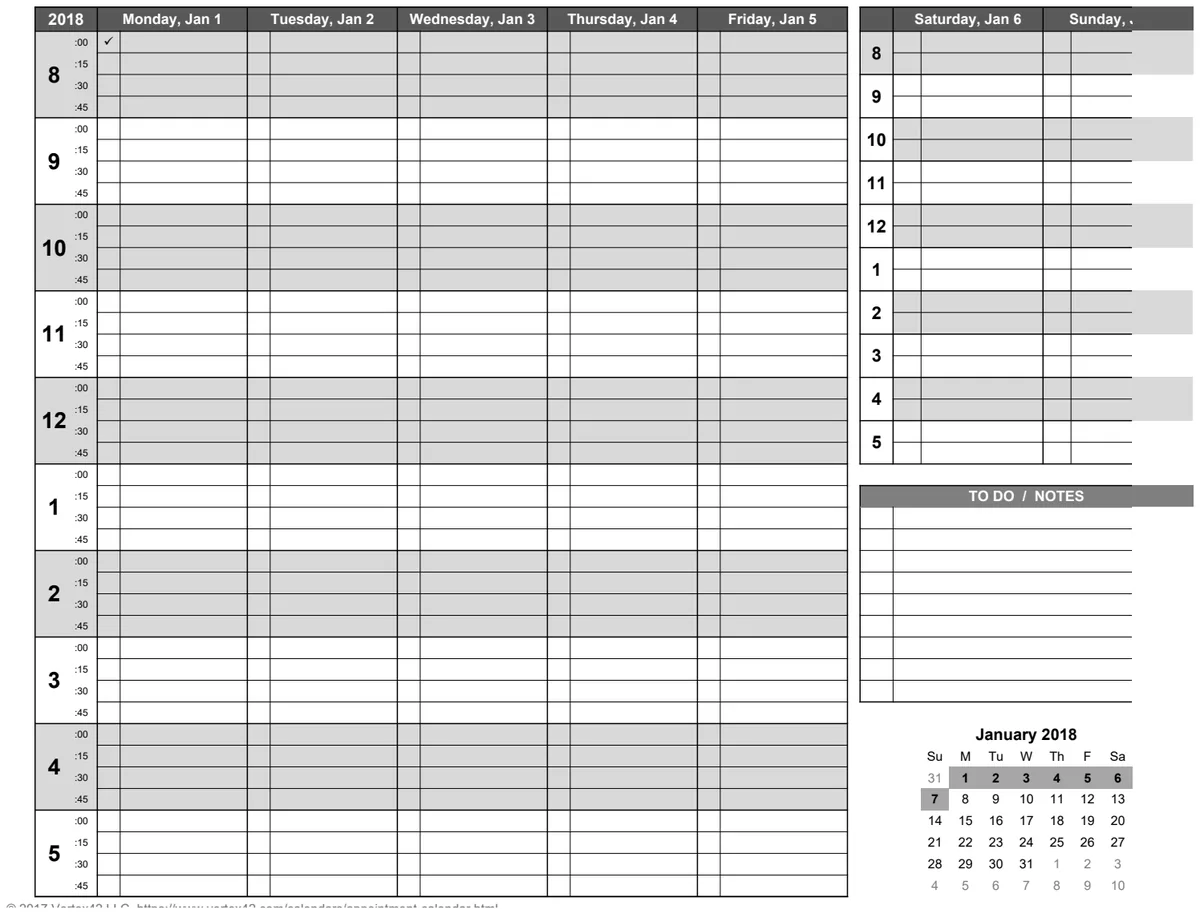
For instance, if you manage a team and need a way for clients to self-select slots, the Appointment Schedule Sign Up Sheet is designed precisely for that. It’s structured for easy sharing and booking. If your need is more for a personal or small-team visual calendar to see who is booked when, the Weekly Appointment Calendar offers a clear, day-by-day view with automated date handling. Access to a library of these types of specialized templates, alongside many others, is available for a one-time fee of $9.
How to Handle Recurring Appointments?
Recurring appointments are tricky in a basic spreadsheet. The simplest approach is to manually duplicate the entry for each occurrence. For more advanced recurring needs, you might need to explore VBA (macros) or consider dedicated scheduling software that has built-in recurrence features.
Can I Sort or Filter My Appointments?
Absolutely. Once you have your columns set up, you can use Excel's "Sort & Filter" tools (found on the "Data" tab). You can sort by date, client name, status, or any other column. Filtering allows you to show only specific types of appointments, like all "Completed" appointments for a particular month, or all appointments for a specific client.
What if I Need to Schedule Multiple People at Once?
If you need to schedule multiple individuals for the same time slot (e.g., a group workshop), you’ll need to adapt your template. You could add a "Number of Attendees" column, or if each attendee needs a separate entry, you'd duplicate the time slot and change the client name, perhaps adding a note like "Group Session - Attendee 1 of 3." For complex group scheduling, dedicated booking systems are usually more efficient.