Google Sheets vs. paper for your monthly schedule
Avoid common errors in Google Sheets monthly calendar templates by using dynamic formulas for automatic date updates.
The most common failure for a monthly calendar template in Google Sheets is a lack of automatic date updating, forcing manual corrections every time the year or month changes. This usually happens because the template was built using static dates rather than dynamic formulas referencing the current date or user-selected month. This oversight turns a helpful tool into a tedious chore.
If you're seeking a ready-made solution, a well-structured monthly calendar template Google Sheets can save you hours of setup. The key is a template that handles the date calculations for you, allowing you to focus on filling in your events and appointments. We’ll cover how to set one up yourself, what to look for in a template, and common pitfalls to avoid.
Building a Basic Monthly Calendar
Let's start with the foundation. A functional monthly calendar needs to display days of the week and populate them correctly under the right day. You’ll typically want a section to select the month and year you're interested in.
Here’s a straightforward approach:
- 01Setup Your Control Cells: In a separate sheet or a designated area, create two cells. One for the "Month" (e.g., cell A1) and one for the "Year" (e.g., cell A2). For the "Month" cell, use data validation to create a dropdown list of month names (January, February, etc.). For the "Year" cell, you can either type it in or use data validation with a list of common years.
- 02Determine the First Day of the Month: In your calendar grid, you need a formula to find the actual date of the first day of the selected month and year. If your Month is in A1 and Year is in A2, you can use this formula in your first date cell (e.g., B5, assuming B is the first column for days and 5 is the first row):
=DATE(A2, MATCH(A1, {"January","February","March","April","May","June","July","August","September","October","November","December"}, 0), 1) This formula takes the year from A2, finds the numerical position of the month name in A1 using MATCH, and sets the day to 1.
- 03Populate the Calendar Grid: Now, you’ll build your grid. Assuming your first day of the month is in cell B5, your next day cell (C5) will use a formula like:
=IF(MONTH(B5+1)=MONTH($B$5), B5+1, "") This checks if the next day is still in the same month as the first day of the month. If it is, it adds 1 to the previous day's date. If not, it leaves the cell blank. Drag this formula across your row and then down for subsequent rows. You’ll need to ensure your grid is large enough to accommodate all days of the month (up to 31, plus any leading or trailing days from the previous/next month).
- 04Formatting: Use conditional formatting to highlight weekends, the current day, or specific event days. You can also format the cells to display only the day number (e.g.,
d) rather than the full date.
Enhancing with Formulas
Beyond the basic display, formulas can make your calendar much more powerful. Think about automatically showing which week of the year it is, or pulling in events from another sheet.
Consider these formula applications:
- Week Number: You can add a column to indicate the week number for each row. In Google Sheets, the
WEEKNUMfunction is useful here. If your first day of the month is in B5, you could use=WEEKNUM(B5)in a cell adjacent to it. Be mindful of howWEEKNUMhandles different start-of-week conventions.
- Conditional Formatting for Events: If you have a separate list of events with dates, you can use conditional formatting on your calendar grid to highlight days that have events. For instance, if your events are on a sheet called "Events" with dates in column A and descriptions in column B, you could apply a custom formula to your calendar cells (e.g., B5:H35). The formula might look something like:
=COUNTIF(Events!A:A, B5)>0 This will color any cell in the calendar grid if the date in that cell exists in the "Events" sheet's date column.
- Dynamic Month/Year Selection: Instead of static dropdowns, you could have cells that automatically update to the current month and year when the sheet is opened. This requires a bit more advanced setup, potentially with a script, but it ensures your calendar is always current without manual intervention.
Using a Pre-built Monthly Calendar Template
Building a calendar from scratch is educational, but for immediate needs, a pre-built template is often the fastest route. When selecting a monthly calendar template Google Sheets, look for these key features:
- Automatic Date Calculation: As mentioned, this is paramount. The template should update automatically when you change the month or year.
- Clear Layout: The days of the week should be clearly labeled, and the grid should be easy to read.
- Customization Options: Can you easily change colors, fonts, or add a logo?
- Event Tracking: Does it have space or a system for adding notes or events to specific days?
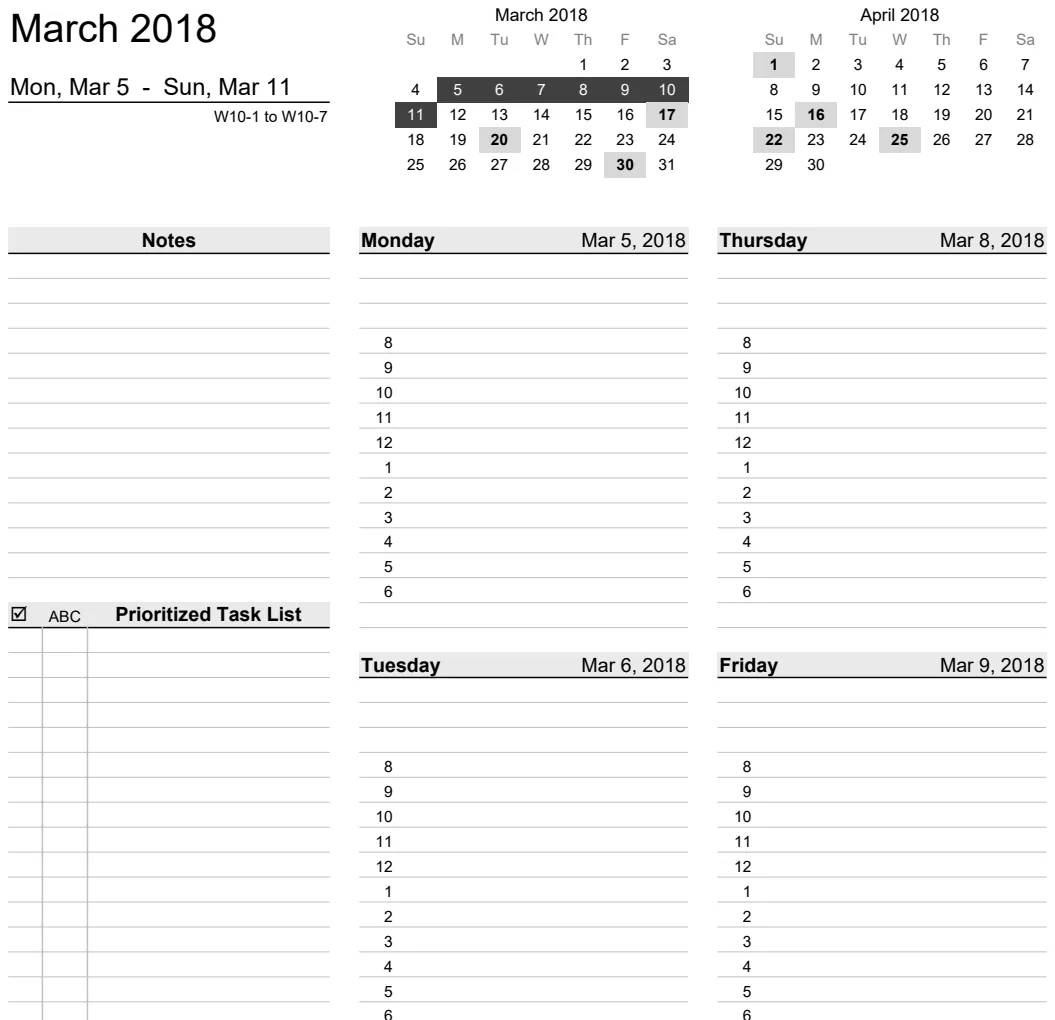
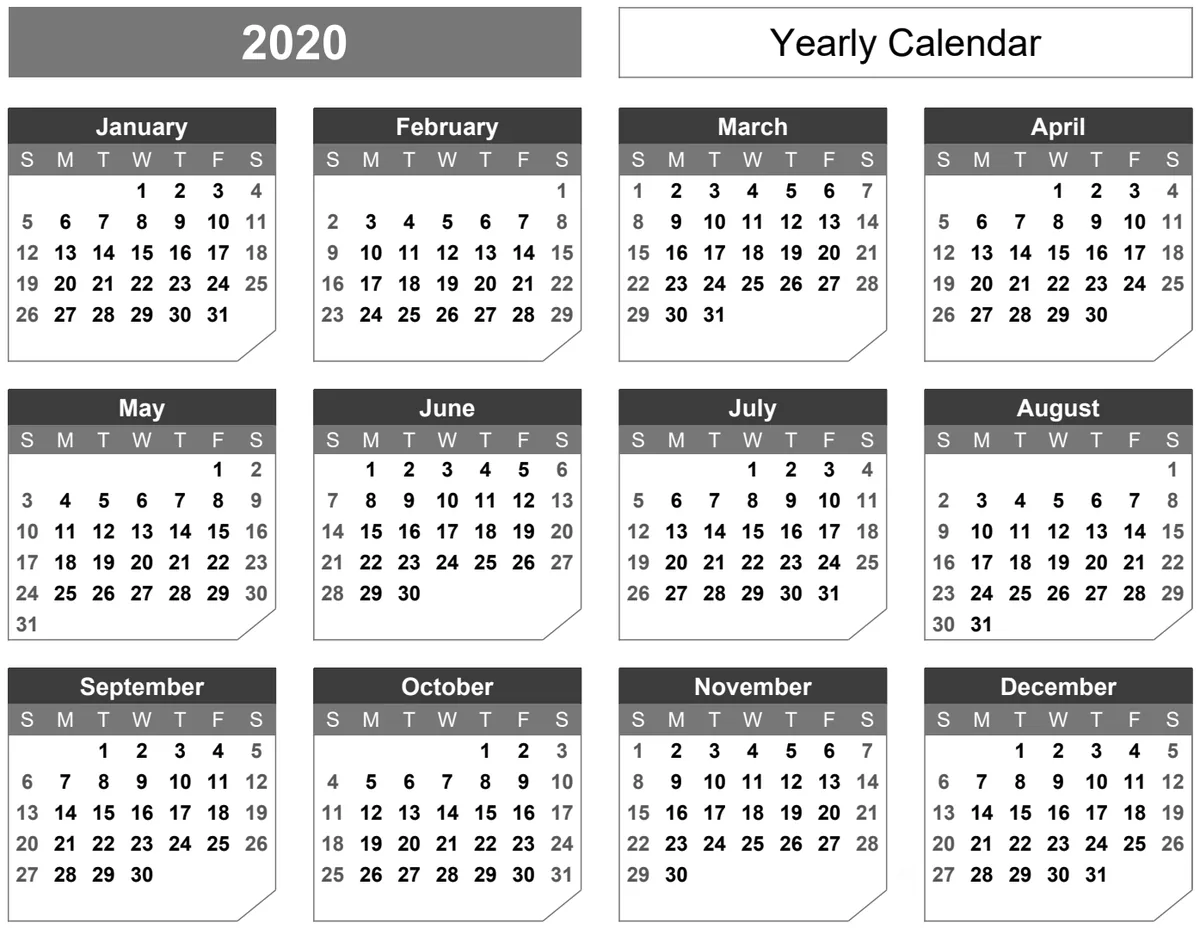
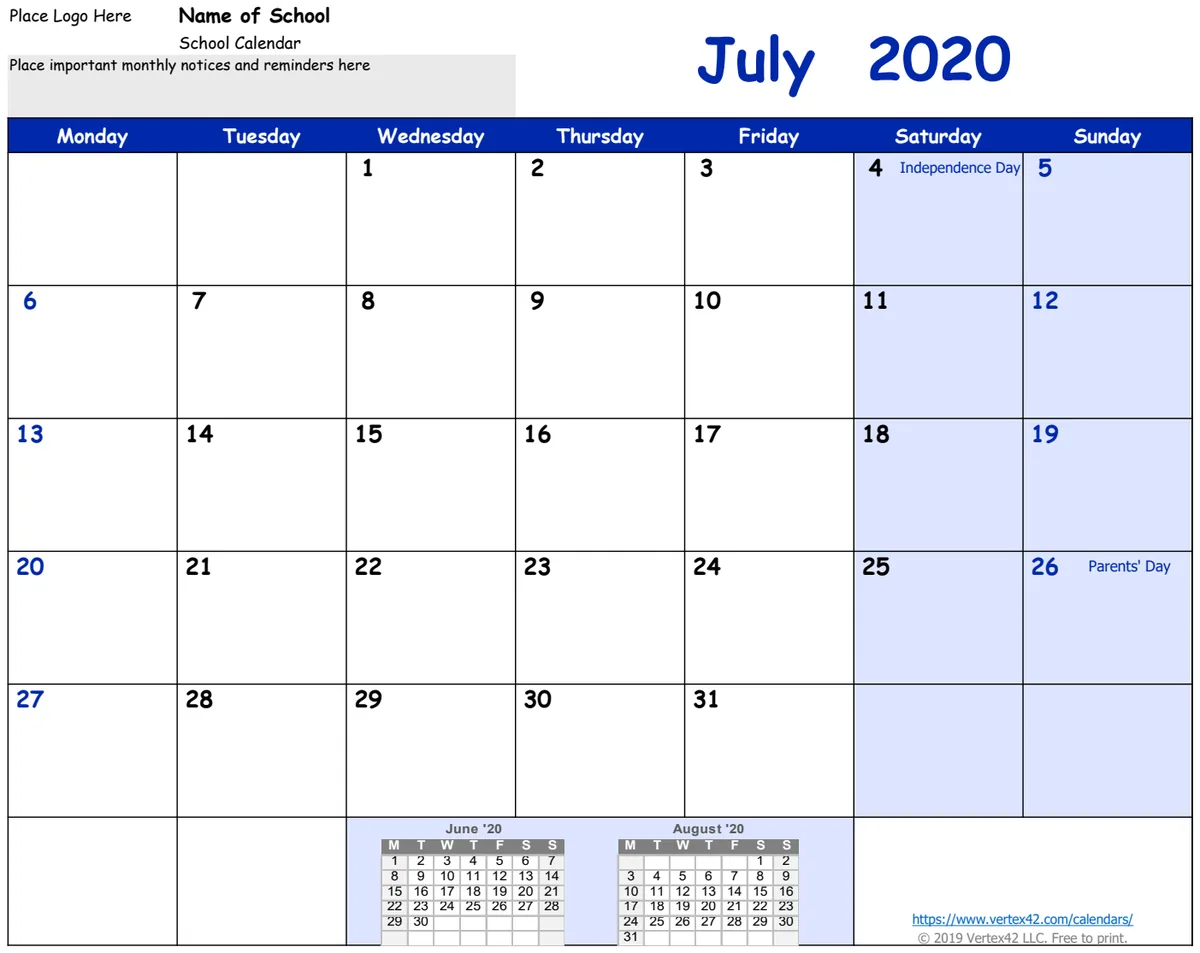
For example, the Monthly Calendar template offers 12 months of organization with automatic date calculations, which is a strong starting point for many users. If your needs are more specific, like managing a school schedule, templates like the 2020-2021 School Calendar (Monthly) or the 2021-2022 School Calendar (Monthly View) provide dedicated sections for school-related information, including logo placement and notice areas. Another option is the 2018-2019 School Calendar (Monday Start), which offers a slightly different layout with a Monday start.
Common Mistakes to Avoid
Even with a good template or a well-built sheet, certain errors can derail your efforts. Being aware of these pitfalls can save you a lot of frustration.
- Hardcoding Dates: This is the cardinal sin. If you type
1/15/2026directly into a cell that should be dynamic, you'll have to change it every year. Always use formulas that reference your month/year selectors or the current date. - Ignoring Leap Years: While less common with modern dynamic formulas, older or manually constructed calendars might not account for February 29th in a leap year, leading to errors.
- Overly Complex Formulas: While advanced features are great, don't let complexity obscure clarity. If your formulas are too difficult to understand or debug, simplify them.
- Lack of Data Validation: For your month and year selectors, using data validation with dropdowns prevents typos (e.g., "Janurary" instead of "January") that would break your formulas.
- Not Enough Space for Events: If you have busy days, ensure there's ample room to write notes or list multiple appointments. Some templates offer expandable sections or linked notes.
Advanced Customization and Tips
Once you have a functional calendar, you can tailor it further. Consider how you'll use the calendar day-to-day.
- Color-Coding: Implement a system where different colors represent different types of events (e.g., work, personal, appointments, deadlines). This can be achieved with conditional formatting rules based on keywords in your event notes or a separate category column.
- Linking to Other Sheets: If you use your calendar to track project milestones, you could link day cells to detailed project plans on other sheets. This makes your calendar a central hub.
- Printing Considerations: If you plan to print your calendar, ensure the layout works well on standard paper sizes. You might need to adjust column widths and row heights, and use print area settings.
- Recurring Events: For recurring events, you can often set them up once in a separate list and use formulas or scripts to populate them across multiple months. This avoids repetitive data entry.
Handling Multiple Months
If your goal is to see more than one month at a time, you have a few options. You can create separate calendar grids for each month, each linked to the same month/year selectors, or you can build a more complex dashboard that displays, say, the current month and the next month side-by-side. For a simple side-by-side view, you'd duplicate your single-month calendar structure, adjusting the formulas to show the next month based on your primary month selector.
Integrating with Google Calendar
While Google Sheets itself doesn't directly sync with Google Calendar in real-time without scripting, you can use it as an offline planning tool. You might export your Google Calendar data into a CSV and import it into your Google Sheet to overlay events onto your template. Conversely, you can use a Google Apps Script to push events from your Google Sheet into your actual Google Calendar, creating a bridge between the two.
Sharing Your Calendar
Google Sheets makes sharing easy. You can grant view-only or edit access to colleagues, family members, or clients. Simply click the "Share" button in the top right corner. Be mindful of the permission levels you grant, especially if your calendar contains sensitive information. For a widely distributed, read-only version, you might consider publishing the sheet as a web page.