How to organize recipes with a spreadsheet template?
Learn how to use a recipe organizer spreadsheet template to manage your growing collection of recipes efficiently.
The moment you realize you need a dedicated recipe organizer spreadsheet template is usually when you're juggling three different browser tabs, a hastily scribbled note, and a cookbook, all trying to find that one ingredient substitution for Aunt Carol's famous casserole. It happens because recipes, unlike tasks or budgets, have a way of multiplying, migrating across devices, and demanding context-specific information like prep time, serving size, and source.
A well-structured spreadsheet can bring order to this culinary chaos. It’s not just about listing ingredients and steps; it’s about creating a searchable, sortable, and accessible database of your favorite meals. This approach transforms a messy collection into a functional resource, saving you time and stress when you need it most, whether you’re planning a weeknight dinner or a holiday feast.
Why a Spreadsheet is Better Than a Notebook
A physical recipe box or a binder of clippings is charming, but it lacks the dynamic capabilities of a spreadsheet. Imagine trying to find all your vegetarian recipes, or all dishes that take less than 30 minutes to prepare, by flipping through pages. A spreadsheet, on the other hand, allows for instant filtering and sorting. You can categorize recipes by cuisine, meal type, dietary restriction, or even by the occasion they're best suited for. This level of organization is impossible with static paper or even a simple digital document.
Furthermore, a spreadsheet can grow with you. As you discover new recipes or adapt old ones, you can easily add them without needing to reformat or reorganize everything. The ability to add columns for notes, difficulty levels, or even links to cooking videos makes it a truly comprehensive tool.
Essential Columns for Your Recipe Organizer
To get the most out of your recipe organizer spreadsheet template, you’ll want to include several key columns. Think of these as the building blocks for a truly functional recipe database.
- Recipe Name: The clear, concise title of the dish.
- Source: Where did you get this recipe? (e.g., "Mom's Cookbook," "Website: AllRecipes.com," "Friend: Sarah," "My Own Creation").
- Category/Meal Type: (e.g., "Appetizer," "Main Course," "Dessert," "Breakfast," "Side Dish," "Soup," "Salad").
- Cuisine: (e.g., "Italian," "Mexican," "Indian," "American," "Thai," "Chinese").
- Prep Time: Estimated time to prepare ingredients.
- Cook Time: Estimated time for cooking.
- Total Time: Often Prep Time + Cook Time, but can be a separate entry.
- Servings: How many people does this recipe typically serve?
- Dietary Notes: (e.g., "Vegetarian," "Vegan," "Gluten-Free," "Dairy-Free," "Nut-Free"). This is crucial for quick reference.
- Difficulty Level: (e.g., "Easy," "Medium," "Hard").
- Ingredients: A detailed list. You might choose to list them all in one cell, or create separate columns for quantity, unit, and ingredient name if you plan to do advanced analysis like costing.
- Instructions: The step-by-step cooking process.
- Notes/Tips: Any personal modifications, serving suggestions, or important reminders.
- Rating: A personal rating out of 5 stars, for example.
Building Your Spreadsheet: A Step-by-Step Guide
Let's walk through how to set up a basic recipe organizer spreadsheet template in a program like Google Sheets or Microsoft Excel.
- 01Open a New Spreadsheet: Start with a blank workbook.
- 02Add Column Headers: In the first row (Row 1), type in your chosen column headers. For example, in cell A1, type "Recipe Name," in B1 type "Source," in C1 type "Category," and so on, following the list above.
- 03Format Headers: Make your headers stand out. You can bold them, change their background color, or freeze the top row so the headers always remain visible as you scroll down. To freeze the top row in Google Sheets, go to
View > Freeze > 1 row. In Excel, go toView > Freeze Panes > Freeze Top Row. - 04Enter Your First Recipe: Starting in Row 2, enter the details for your first recipe. For the "Ingredients" and "Instructions" columns, you can either type them directly into the cell, or use a formula like
=JOIN("\n", ingredient_list)if you have your ingredients and steps in separate helper columns or ranges. The\nensures a line break within the cell. - 05Add Data Validation (Optional but Recommended): For columns like "Category," "Cuisine," or "Dietary Notes," data validation can prevent typos and ensure consistency.
- In Google Sheets: Select the cells you want to apply validation to (e.g., the entire "Category" column, starting from Row 2). Go to
Data > Data validation. Choose "List from a range" or "List of items" and enter your options (e.g., "Appetizer, Main Course, Dessert"). - In Excel: Select the cells. Go to
Data > Data Validation. Under "Allow," choose "List" and enter your options in the "Source" box, separated by commas.
- 06Apply Conditional Formatting (Optional): You might want to highlight recipes based on certain criteria. For instance, you could automatically highlight recipes with a "Vegetarian" dietary note in green.
- In Google Sheets: Select the data range. Go to
Format > Conditional formatting. Choose "Custom formula is" and enter a formula like=B2="Vegetarian"(assuming your "Dietary Notes" are in column B and you started formatting from Row 2). Then pick your formatting style. - In Excel: Select the data range. Go to
Home > Conditional Formatting > New Rule. Choose "Use a formula to determine which cells to format" and enter your formula (e.g.,=B2="Vegetarian").
- 07Populate Your Spreadsheet: Continue adding all your recipes. The more you add, the more valuable your organizer becomes.
Dealing with Long Ingredient Lists and Instructions
The "Ingredients" and "Instructions" columns can quickly become unwieldy. Here are a few ways to manage them effectively within your recipe organizer spreadsheet template.
- Single Cell with Line Breaks: As mentioned, you can list all ingredients or steps in one cell, using line breaks to separate items. This keeps your main table clean. You can achieve line breaks within a cell by pressing
Alt+Enter(Windows) orOption+Enter(Mac) while typing. - Helper Columns/Sheets: For more advanced users, you could maintain a separate sheet or use hidden columns for detailed ingredient breakdowns (quantity, unit, item) and then use a formula like
=TEXTJOIN(CHAR(10), TRUE, A2:A10)to pull them into a single cell in your main recipe list.CHAR(10)is the spreadsheet function for a line break. - Linking to External Sources: If a recipe is from a website, you can include a URL in a dedicated "Link" column. This keeps your spreadsheet focused on your personal recipes and easily accessible external ones.
Tips for Maintaining Your Organizer
A recipe organizer isn't a set-it-and-forget-it tool. Regular maintenance ensures it remains a useful asset.
- Regularly Update Ratings: After making a recipe, take a moment to rate it. This helps you quickly identify your favorites and those that might need tweaking.
- Add New Favorites Immediately: When you try a new recipe that's a hit, add it to your spreadsheet right away. Don't wait until you have "more time," as those details can be forgotten.
- Clean Up Old or Infrequently Used Recipes: Periodically review your list. If you haven't made a recipe in years and don't plan to, consider archiving or deleting it to keep your organizer manageable.
- Backup Your Data: This is critical. Ensure you have a reliable backup system for your spreadsheet, whether it's through cloud storage syncing or manual backups.
Common Mistakes to Avoid
Even with the best intentions, people often make a few common missteps when creating or using a recipe organizer.
- Over-Complication: Trying to build a system that does everything can lead to a spreadsheet that's too complex to use. Start simple and add features as needed. For instance, while calculating ingredient costs is valuable, it might be overkill for a basic organizer. A dedicated Recipe Cost Template might be a better fit for that specific need.
- Inconsistent Data Entry: If your "Category" column has "Dessert," "desserts," and "Desserts!," your filters won't work correctly. Using data validation (as mentioned earlier) is the best way to combat this.
- Ignoring Mobile Access: If you plan to use your recipe organizer in the kitchen, ensure you can easily access it on a phone or tablet. Cloud-based solutions like Google Sheets are excellent for this.
- Not Using Search/Filter Features: The primary advantage of a spreadsheet is its search and filter capability. Make sure you know how to use these functions in your chosen spreadsheet program.
Can I Add Photos to My Recipes?
Yes, you absolutely can add photos. Most spreadsheet programs allow you to insert images. You can either insert them directly into cells (which can sometimes make the sheet slow and large) or link to images stored online or on your computer in a separate column. A simple way is to use the IMAGE() function in Google Sheets, like =IMAGE("URL_of_your_photo") if the image is hosted online, or to insert it into a cell if you're using Excel.
How Do I Share My Recipes with Others?
Sharing is straightforward with most spreadsheet programs. You can typically download the file as an Excel (.xlsx), CSV, or PDF file, or share a direct link to the spreadsheet if it's stored in the cloud (like Google Sheets or OneDrive). This allows family members or friends to access your collection, though be mindful of sharing permissions if you want to prevent them from editing your master list.
What If I Want to Plan My Meals Too?
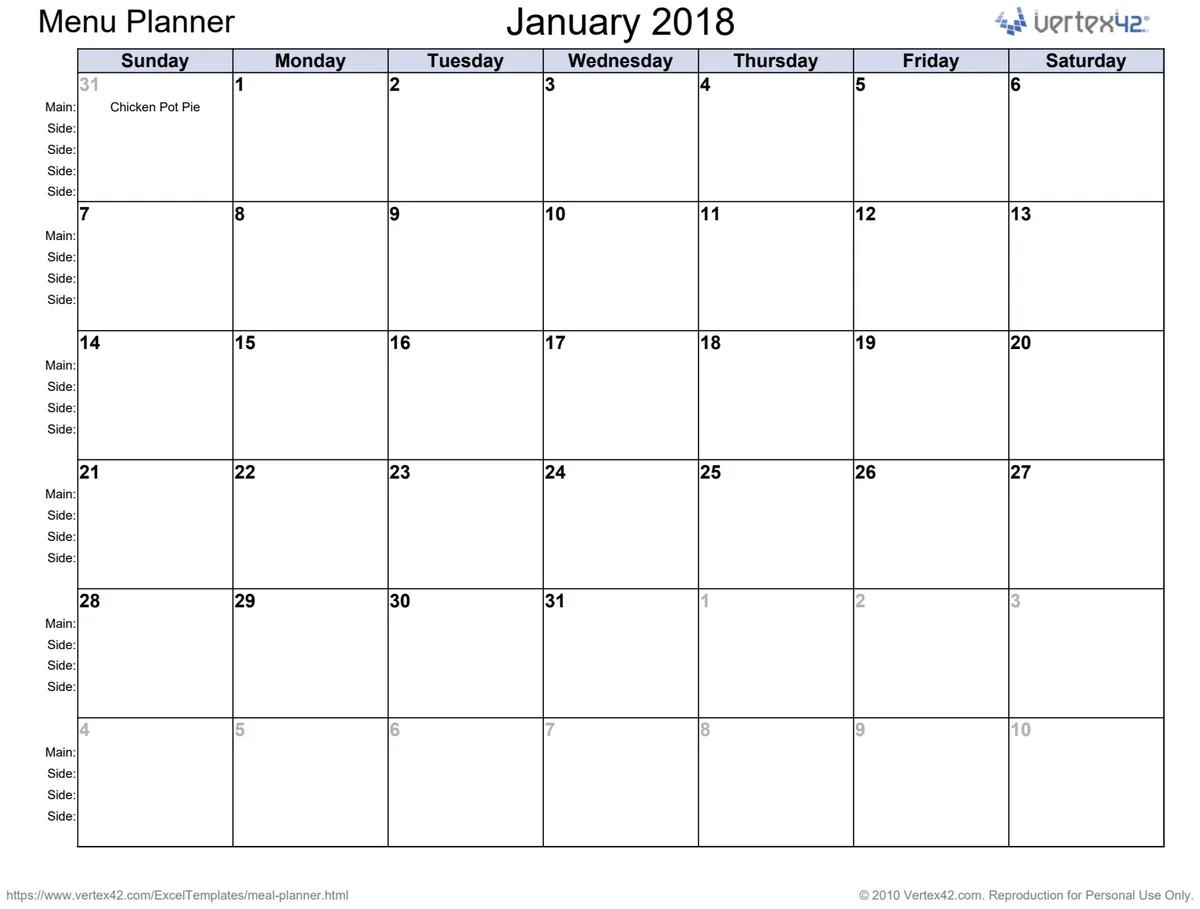
If your goal extends beyond just organizing recipes to planning weekly or monthly menus and generating grocery lists, a dedicated tool might be more efficient. A Monthly Menu Planner with Grocery List can integrate with your recipe collection, allowing you to select meals for each day and automatically compile a shopping list based on the ingredients needed, complete with quantities and even unit conversions.
Is There a Template Available?
Yes, you can find pre-built spreadsheet templates designed for recipe organization. These templates often come with many of the essential columns already set up, and some even include basic formatting or data validation to get you started quickly. Many libraries offer these, often as part of a broader collection of personal or household management tools. For unlimited downloads of a wide variety of templates, including household planners and budget trackers, the library offers access for a one-time fee of $9.