Set up your 50/30/20 budget in minutes
Create your 50 30 20 budget spreadsheet template in minutes to track spending and reach your financial goals.
By the end of this, you'll have a functional 50 30 20 budget spreadsheet template set up in Google Sheets or Excel, ready to categorize your income and track spending against your defined goals. This template will help you allocate 50% of your income to needs, 30% to wants, and 20% to savings and debt repayment, providing a clear framework for financial management.
The 50 30 20 rule is a popular budgeting guideline that simplifies financial planning. It suggests dividing your after-tax income into three main categories: 50% for needs, 30% for wants, and 20% for savings and debt repayment. This system aims to create a balanced approach to spending, saving, and financial freedom.
Setting Up Your Income Section
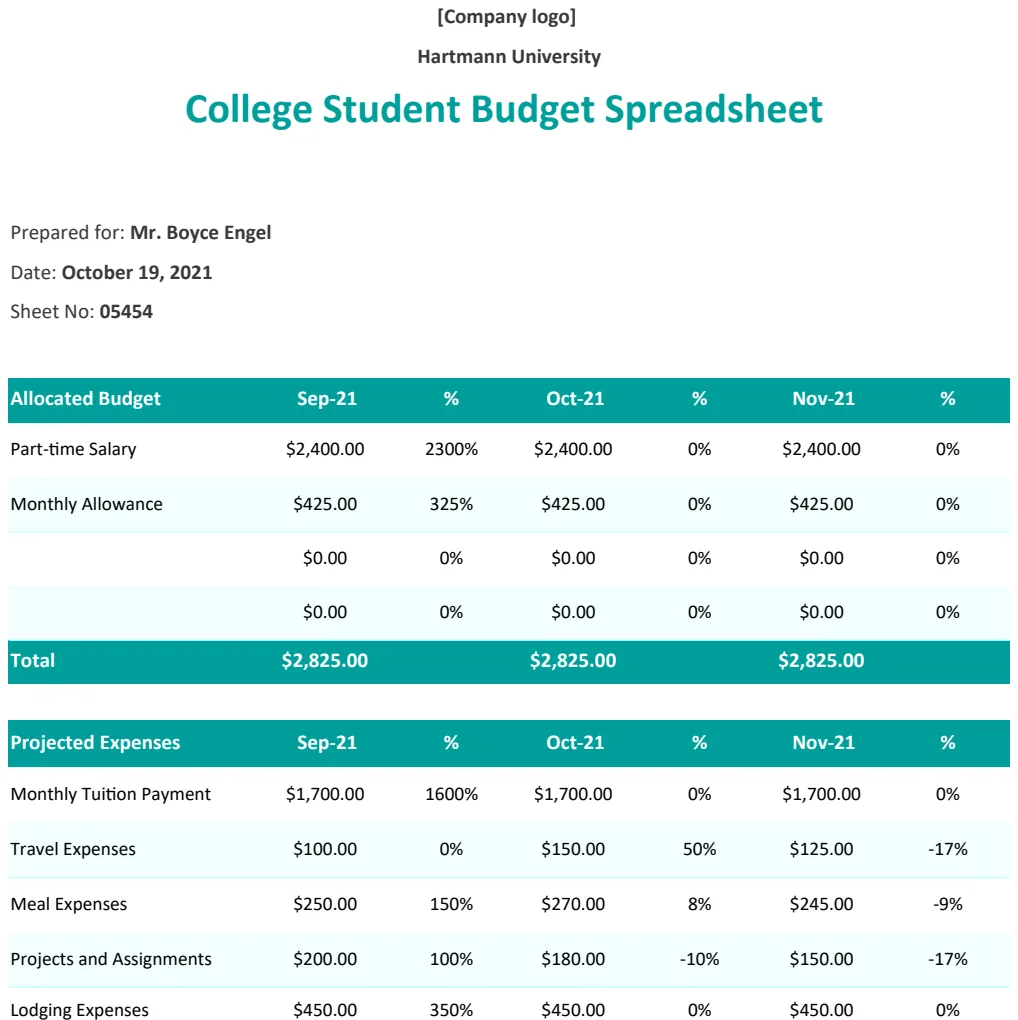
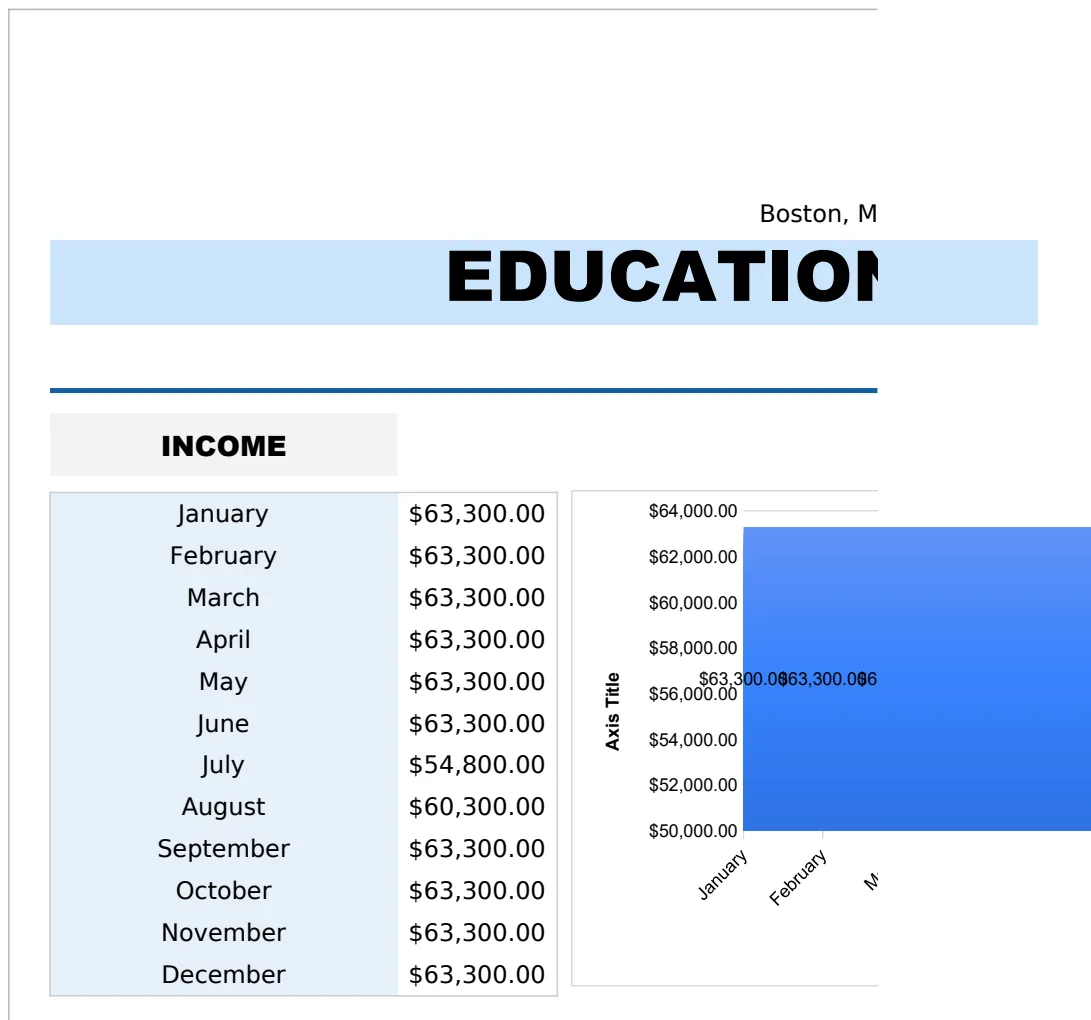
First, you'll need a place to input your income. In your spreadsheet, create a section at the top, perhaps on Sheet 1 or a dedicated "Summary" sheet. You might have columns like "Income Source" and "Monthly Amount." For example, you could list "Paycheck 1," "Freelance Income," and "Interest," with corresponding monthly figures. If you use a single spreadsheet for the whole year, you might have columns for "Month," "Income Source," and "Amount." For a monthly template, simply listing sources and their amounts is sufficient.
If you have variable income, it's best to average it over a few months or use a conservative estimate for your budget. For instance, if your freelance income fluctuates between $1,000 and $2,000, budgeting based on $1,000 might be prudent, with any extra income treated as a bonus or allocated to savings. In a spreadsheet, you could use a formula like =AVERAGE(Sheet2!C2:C13) to pull the average monthly income from a separate sheet where you log daily or weekly earnings. This ensures you're not over-allocating funds based on an unusually high income month.
Handling Multiple Income Streams
Many people have more than one source of income. Your template should accommodate this. In addition to "Paycheck 1," you might add "Spouse's Paycheck," "Side Hustle Income," or "Rental Property Income." The key is to capture all incoming cash. If you have a primary income source and a secondary, less predictable one, you might list them separately in the income section and then have a total income field that sums them up. For example, if Paycheck 1 is consistently $3,000 and Side Hustle Income averages $750, your total income for budgeting purposes would be $3,750. This makes the subsequent calculations for needs, wants, and savings more accurate.
Calculating Your 50 30 20 Targets
Once your income is entered, calculate the target amounts for each category. This is straightforward math, and your spreadsheet can do it for you.
- 01Total Monthly Income: Sum all your income sources. Let's say your total monthly income is $5,000 for illustration. In a spreadsheet, if your income sources are in cells B2 through B4, your total income would be
=SUM(B2:B4). - 02Needs (50%): Calculate 50% of your total monthly income. In our example, $5,000 \* 0.50 = $2,500. If your total income is in cell B5, this target would be
=B5*0.50. - 03Wants (30%): Calculate 30% of your total monthly income. $5,000 \* 0.30 = $1,500. This formula would be
=B5*0.30. - 04Savings & Debt (20%): Calculate 20% of your total monthly income. $5,000 \* 0.20 = $1,000. This formula would be
=B5*0.20.
You'll want to have these target numbers clearly displayed in your spreadsheet, perhaps in a separate summary section or directly below your income inputs. It's helpful to label these clearly: "Target Needs (50%)," "Target Wants (30%)," and "Target Savings/Debt (20%)." This provides a constant reference point for your spending.
Using Formulas for Dynamic Targets
To make your budget dynamic, link these calculations directly to your income figures. If your income changes from month to month, the targets will automatically adjust. For example, you could have cells for "Monthly Income," "Target Needs," "Target Wants," and "Target Savings." Cell B5 would contain your total monthly income (e.g., =SUM(B2:B4)). Then, cell B6 (Target Needs) would be =B5*0.5, cell B7 (Target Wants) would be =B5*0.3, and cell B8 (Target Savings) would be =B5*0.2. This way, when you update your income figures in B2:B4, all the target percentages update automatically.
Categorizing Your Needs (50%)
The "Needs" category covers essential living expenses. These are things you can't live without to maintain a basic standard of living. Common examples include:
- Housing: Rent or mortgage payments, property taxes, homeowners insurance, HOA fees.
- Utilities: Electricity, gas, water, internet, trash collection, basic phone service.
- Groceries: Food for home consumption, including household essentials like toilet paper and cleaning supplies.
- Transportation: Car payments, car insurance, gas, public transport fares, routine maintenance (oil changes, tire rotations).
- Healthcare: Health insurance premiums, co-pays, deductibles, prescription medications, necessary medical equipment.
- Minimum Debt Payments: The absolute minimum required payments on all loans and credit cards. This is crucial; the 20% category handles extra debt payments.
- Childcare: If required for work.
- Basic Clothing/Personal Care: Essential items needed for work or daily hygiene.
Set up a section in your spreadsheet for "Needs." This section should have columns like "Need Category" (e.g., Housing, Utilities), "Sub-Category" (e.g., Rent, Electricity, Groceries), "Budgeted Amount" (which will be your target from the 50% calculation, spread across these sub-categories), and "Actual Spent." You'll also want a "Difference" column to see if you're over or under budget for each item.
Tracking Actual Spending for Needs
To track "Actual Spent" for needs, you'll need a system. This could involve manually entering amounts from bank statements and credit card bills at the end of the month, or using a more granular approach where you log expenses as they happen, perhaps on a separate "Transactions" sheet. For example, on a "Transactions" sheet, you might have columns for "Date," "Description," "Amount," and "Category" (Needs, Wants, Savings). Then, you can use a formula like =SUMIF(Transactions!D:D, "Needs", Transactions!C:C) to sum up all spending categorized as "Needs." However, for the 50 30 20 rule, it's more practical to break down "Needs" further. You'd use formulas like =SUMIF(Transactions!D:D, "Housing", Transactions!C:C) and =SUMIF(Transactions!D:D, "Utilities", Transactions!C:C) to populate the "Actual Spent" for each sub-category within your "Needs" section.
Allocating to Wants (30%)
"Wants" are discretionary spending, things that improve your quality of life but aren't strictly essential for survival. This category includes:
- Dining Out: Restaurants, fast food, coffee shops, bars.
- Entertainment: Movies, concerts, sporting events, video games, streaming services (Netflix, Spotify), hobbies, books.
- Shopping: New clothing (beyond basic replacement needs), electronics, gadgets, home decor, impulse buys.
- Travel & Recreation: Vacations, weekend getaways, theme parks, recreational activities.
- Gym Memberships: Unless medically prescribed.
- Subscriptions: Non-essential magazines, premium app subscriptions.
- Gifts & Donations: Unless you specifically choose to allocate a portion of your savings/debt category to charitable giving.
Similar to "Needs," create a "Wants" section with sub-categories, a "Budgeted Amount" (from your 30% target, allocated across these sub-categories), and an "Actual Spent" column. A "Difference" column here is also very useful to see where you might be overspending. For example, if your total "Wants" budget is $1,500, you might allocate $300 to Dining Out, $200 to Entertainment, $400 to Shopping, and $600 to Travel.
Setting Realistic "Wants" Budgets
The key to making the "Wants" category work is to be realistic and specific. Instead of a vague $1,500 for all discretionary spending, break it down. If you know you spend $400 a month on dining out, budget that. If you want to cut back, you'll see that reflected in the budgeted amount. Overspending in one "Want" category might mean you need to cut back in another. For instance, if you've overspent on dining out by $100, you should ideally reduce your spending on entertainment or shopping by $100 to stay within your overall 30% target. This detailed breakdown helps identify areas for potential savings.
Prioritizing Savings & Debt (20%)
This crucial 20% is for building financial security and reducing liabilities. It typically includes:
- Emergency Fund: Building a cushion for unexpected expenses like job loss, medical emergencies, or major home/car repairs. Aim for 3-6 months of essential living expenses.
- Retirement Savings: Contributions to tax-advantaged accounts like 401(k)s, IRAs, or Roth IRAs.
- Extra Debt Payments: Paying more than the minimum on high-interest debt like credit cards, personal loans, or student loans to pay them off faster and save on interest. This is a powerful wealth-building tool.
- Investments: Contributions to taxable brokerage accounts for long-term wealth accumulation.
- Saving for Goals: Down payments for a house, a new car, or major renovations.
You'll need a "Savings & Debt" section with specific sub-categories for your goals (e.g., "Emergency Fund," "Extra Credit Card Payment," "Retirement Contribution," "Down Payment Fund"). Each sub-category should have a "Budgeted Amount" and an "Actual Amount Saved/Paid." The sum of these should equal your 20% target.
Differentiating Minimums vs. Extra Payments
It's vital to distinguish between minimum debt payments and extra payments. Minimum payments for credit cards, student loans, and car loans count as "Needs" (part of your 50%). Any amount paid above the minimum on these debts goes into the 20% "Savings & Debt" category. This clarifies your budget and ensures you're actively working towards debt freedom. For example, if your minimum credit card payment is $50 but you pay $150, $50 is a "Need" and $100 is a "Savings & Debt" item. Your spreadsheet should reflect this distinction clearly.
Tracking Your Spending
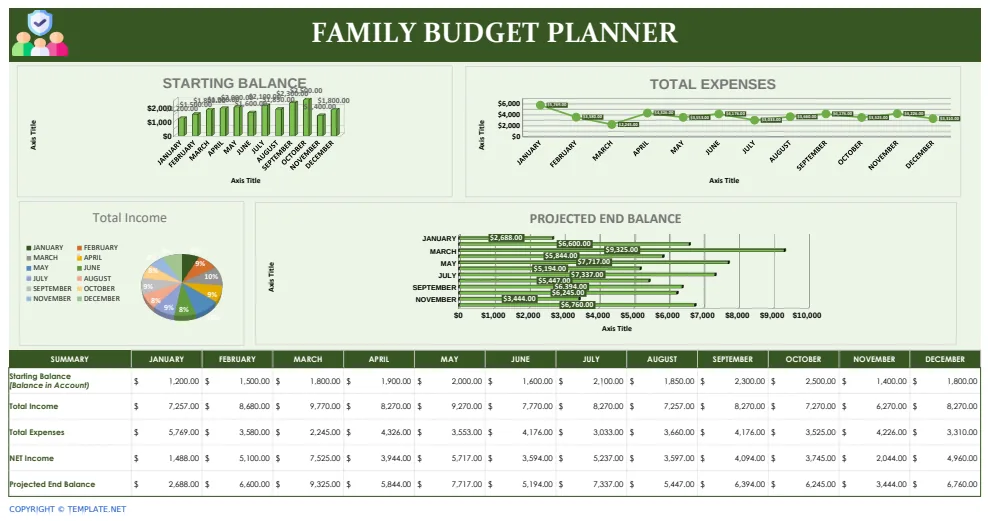
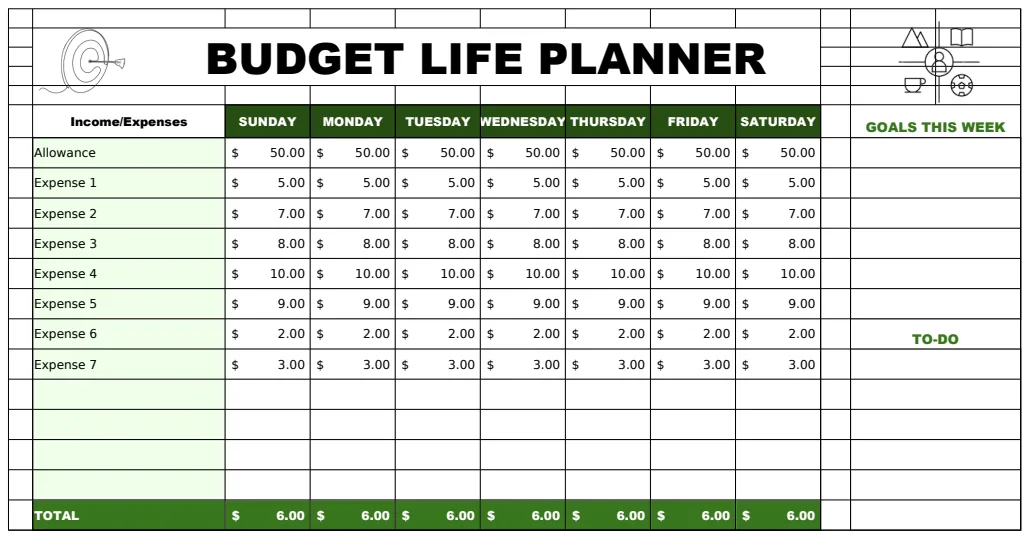
The core of any budget template is tracking your actual spending and comparing it against your budgeted amounts. You'll need columns for "Budgeted Amount," "Actual Spent," and "Difference" within each of your Needs, Wants, and Savings/Debt sections.
Manual Entry vs. Automated Tracking
Manual Entry: This is the most straightforward approach. At the end of each week or month, you go through your bank statements, credit card statements, and receipts. You then categorize each transaction and sum up the total spent in each sub-category. For example, in your "Needs" section, you might have a row for "Groceries." If your bank statement shows you spent $450 on groceries, you enter $450 in the "Actual Spent" column for Groceries.
Automated Tracking (with caveats): Some spreadsheet programs and third-party tools offer features to link bank accounts and automatically categorize transactions. While convenient, this often requires careful review. Bank transaction descriptions can be cryptic, and automatic categorization isn't always perfect. For a 50 30 20 budget, which relies on clear categorization of needs, wants, and savings, manual review and adjustment are almost always necessary to ensure accuracy. You can use formulas like =SUMIF(Sheet2!B:B, "Groceries", Sheet2!C:C) on a separate "Transactions" sheet (Sheet2) to pull spending into your main budget sheet, but you still need to ensure transactions are correctly assigned to "Groceries."
Calculating the Difference
For each category and sub-category, a "Difference" column is essential. This column calculates how much you are over or under budget. The formula is simple: =Budgeted Amount - Actual Spent.
- A positive number means you have money left in that category (you're under budget).
- A negative number means you have overspent (you're over budget).
- A zero means you've spent exactly your budgeted amount.
This "Difference" column immediately highlights areas where you need to adjust your spending. If your "Difference" for "Dining Out" is -$75, you know you've spent $75 more than planned. You can then decide whether to cut back elsewhere or accept that you're over budget in that specific "Want."
Using Conditional Formatting for Visual Cues
To make your budget easier to read and understand at a glance, use conditional formatting. This feature automatically changes the appearance of a cell based on its value.
- Over Budget: Set cells in the "Difference" column for "Actual Spent" to turn red when the value is negative (meaning Actual Spent > Budgeted Amount). In Excel or Google Sheets, this would be a rule like "Cell Value is less than 0."
- Under Budget: You could set cells to turn green when the "Difference" is positive, indicating you have money remaining. Rule: "Cell Value is greater than 0."
- On Track: Cells could turn yellow or remain a neutral color when the "Difference" is zero or very close to zero. Rule: "Cell Value is equal to 0."
Applying this to your "Difference" columns for Needs, Wants, and Savings/Debt provides an immediate visual summary of your financial health for the month. You can quickly scan down the "Difference" column and spot any red cells, indicating areas that require attention.
Common Budgeting Mistakes to Avoid
Even with a solid template, people often stumble. Here are a few common pitfalls:
- Not Tracking Consistently: The biggest mistake is setting up a budget and then not diligently tracking spending. If you don't know where your money is going, the budget is useless. Aim to update your spending logs at least weekly.
- Unrealistic Budgeting: Setting targets that are impossible to meet will lead to frustration and abandonment of the budget. For example, trying to cut your "Wants" budget by 70% overnight is rarely sustainable. Make gradual adjustments.
- Forgetting Irregular Expenses: Annual insurance premiums, holiday gifts, or car maintenance costs can derail a monthly budget if not accounted for. A good practice is to divide these annual costs by 12 and save that amount monthly in a dedicated sinking fund.
- Categorization Confusion: Not clearly defining what constitutes a "Need" versus a "Want" can lead to overspending in the "Wants" category. For example, is that premium coffee a "Need" for your day or a "Want"? Be honest with yourself.
- Not Reviewing and Adjusting: Life changes. Your income might fluctuate, your expenses might change, or your financial goals may evolve. Your budget should be a living document, reviewed and adjusted monthly or quarterly.
The "Zero-Sum" Budgeting Twist
Some users find the 50 30 20 rule too rigid if their income or expenses fluctuate significantly. An alternative approach, sometimes called a "zero-sum" budget, involves assigning every dollar of income to a specific category. After covering your "Needs" and allocating to "Savings/Debt," any remaining money goes into "Wants." This ensures you're always accounted for, but it requires more active management than the percentage-based 50 30 20 rule. If you consistently find yourself with leftover money after the 50 30 20 targets, you might consider increasing your savings or debt repayment percentage.
Handling Unexpected Windfalls
What do you do with a bonus, tax refund, or inheritance? The 50 30 20 rule doesn't explicitly cover windfalls. A common recommendation is to allocate a significant portion to savings and debt repayment (e.g., 50% or more), with the remainder split between "Needs" (if there's an immediate essential expense) and "Wants." For instance, a $1,000 bonus could be $500 to an emergency fund, $300 towards extra debt payments, and $200 for a treat or a "Want."
Fine-Tuning Your Categories
The provided categories are starting points. You may need to add or combine them based on your personal spending habits. For example, if "Hobbies" are a significant part of your "Wants," you might give them their own line item. Conversely, if "Subscriptions" are minimal, you could roll them into "Entertainment." The goal is clarity and usability for your financial situation.
Follow-Up Questions
How do I handle debt repayment?
The 50 30 20 rule assigns 20% of your income to savings and debt repayment. This means your minimum payments on all debts (credit cards, loans, mortgage) fall under the 50% "Needs" category. Any amount you pay above the minimum for these debts, or any voluntary contributions to retirement accounts or investments, falls into the 20% category. Prioritize high-interest debt for extra payments within this 20% allocation.
What if my "Needs" are more than 50% of my income?
This is a common challenge, especially in areas with a high cost of living or for individuals with significant debt. If your essential needs consistently exceed 50%, you'll need to reduce spending in the "Wants" (30%) category, or ideally, both "Wants" and "Needs" if possible. Consider ways to decrease housing costs, transportation expenses, or utility bills. It might also mean aggressively targeting debt to free up cash flow in the long run.
Can I adjust the percentages?
Yes, the 50 30 20 rule is a guideline, not a strict law. If your lifestyle or financial goals require a different allocation, feel free to adjust. For example, someone aggressively saving for retirement or paying off debt might aim for 50% Needs, 20% Wants, and 30% Savings/Debt. The key is to be intentional about the allocation and ensure it aligns with your long-term financial objectives.
What if I have zero debt and significant savings?
If you have no debt and a healthy emergency fund, you can reallocate the 20% entirely to savings and investments. This could mean increased contributions to retirement accounts, investing in a brokerage account, or saving for large future purchases like a home down payment. The principle of dedicating a portion of income to future financial security remains the same.