Create professional quotes and invoices fast with Excel.
Stop juggling separate quote and invoice documents. Build a single, integrated system in Excel to save time and reduce errors.
The generic advice you'll find online about creating a quote and invoice template Excel sheet often overlooks the critical need for a single, integrated system. Juggling separate quote and invoice documents means you're likely re-entering client and product data, increasing errors and wasting valuable time. This manual process is prone to inconsistencies; a discount applied to a quote might be forgotten on the final invoice, or shipping costs could be missed. A well-designed template bridges this gap, ensuring your client interactions are both professional and efficient, from the first proposal to the final payment.
This guide will walk you through building a functional quote and invoice template in Excel, focusing on practical elements that save you time. We'll cover essential fields, formula setups, and tips to make your quoting and invoicing process smooth. The goal is a system where creating an invoice directly from a quote is straightforward, minimizing manual entry and potential mistakes.
Why a Single Template Matters
When you're running a business, especially as a freelancer or small operation, your time is your most valuable asset. Manually creating quotes and then, later, invoices for the same job or product means you're performing a lot of repetitive data entry. Imagine sending a quote to a client, they accept, and then you have to type all those line items, descriptions, and prices into a new invoice document. This is not only tedious but also a prime opportunity for errors. A single quote and invoice template Excel solution consolidates this, allowing you to convert a quote into an invoice with just a few clicks, or even automatically. This consistency ensures that what you quoted is exactly what you bill for, fostering trust and professionalism.
Essential Components of Your Template
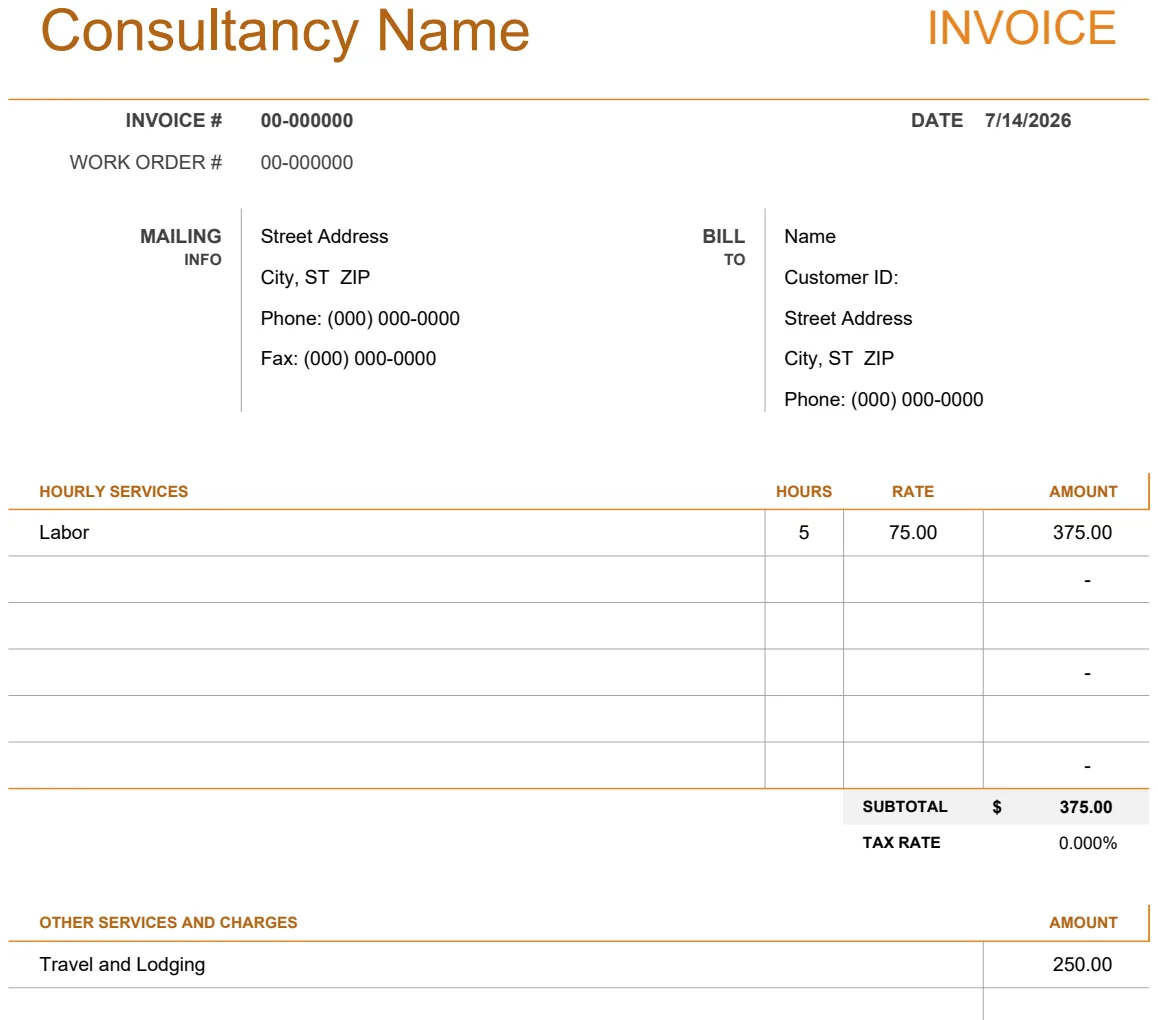
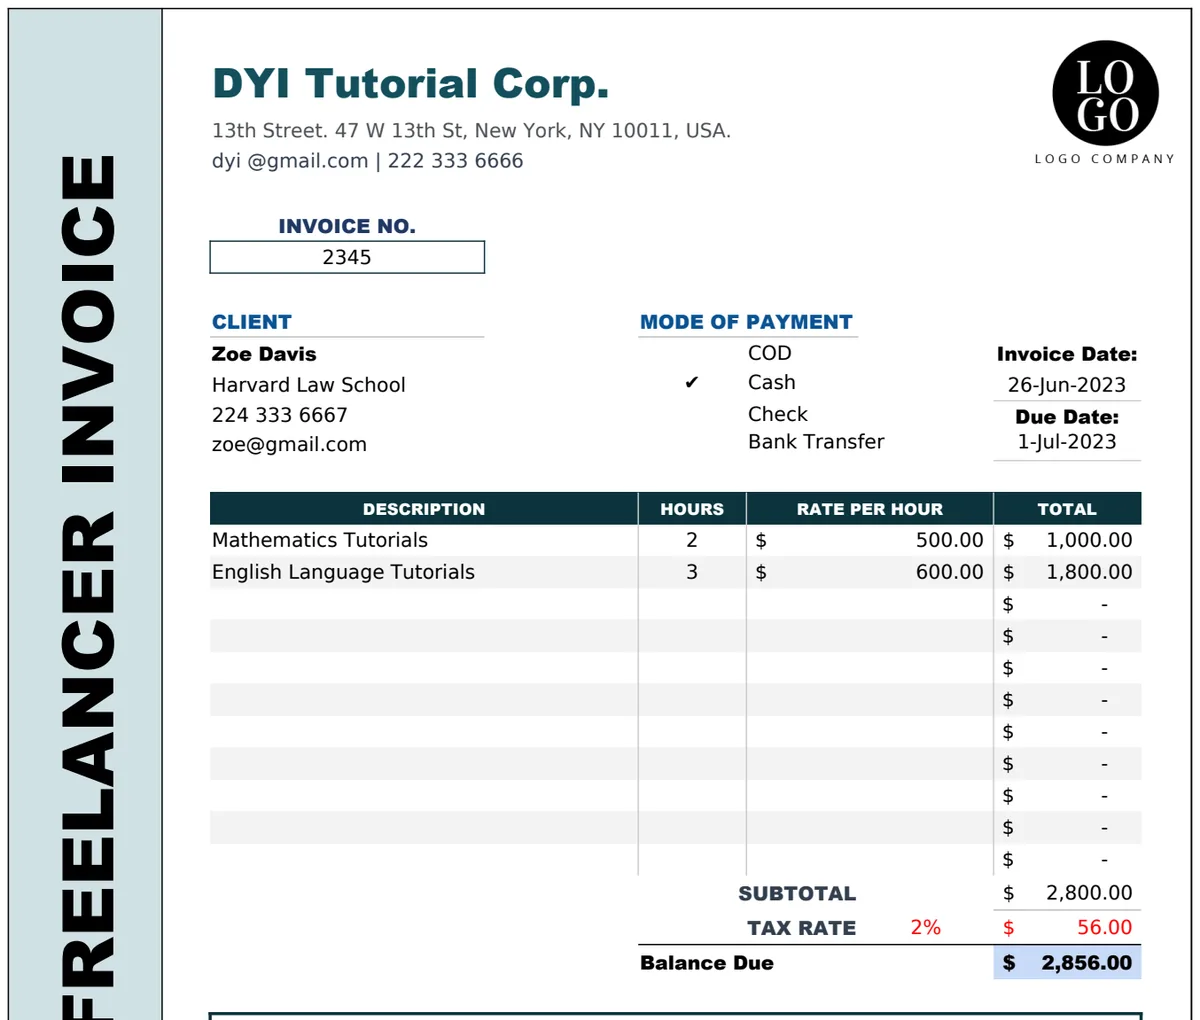
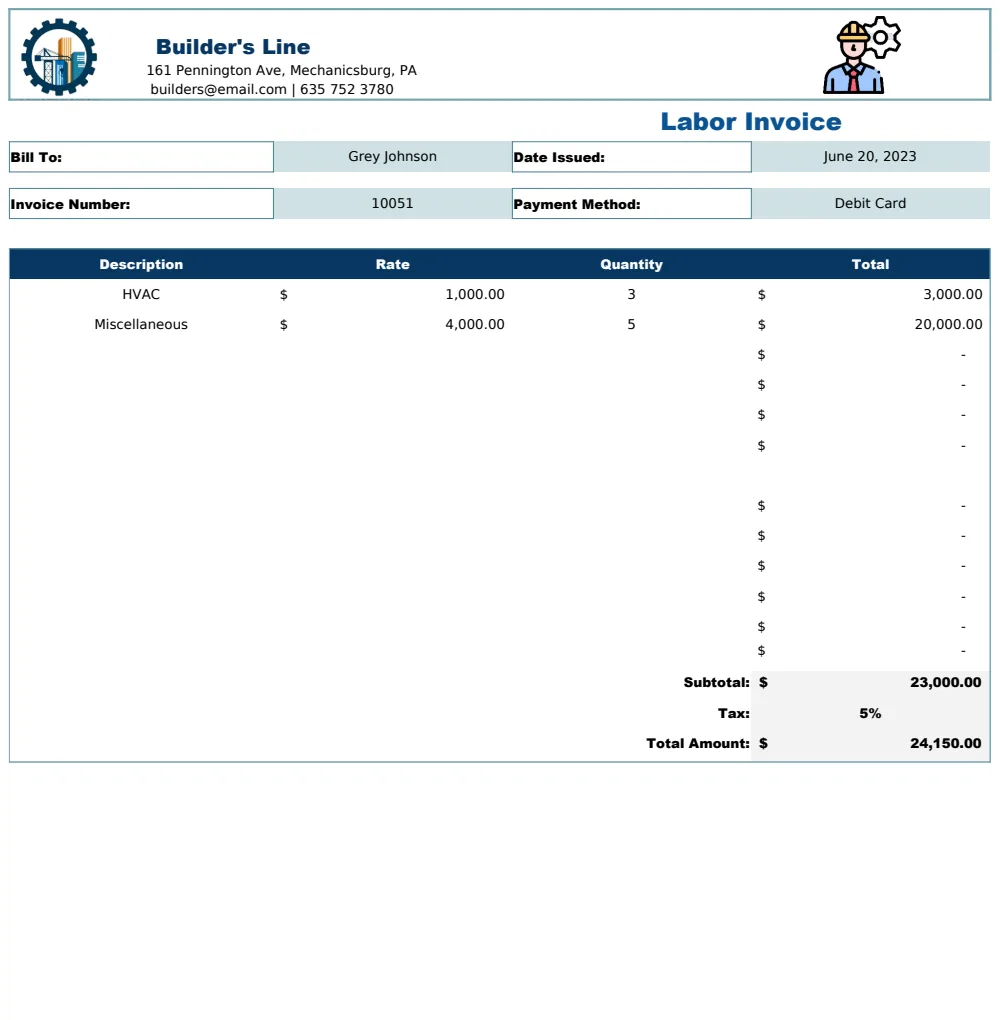
To build an effective quote and invoice template Excel sheet, you need specific sections that capture all necessary information. Think about what a client needs to see on a quote, and what you need to track for an invoice.
Client Information:
- Client Name
- Client Address
- Client Email
- Client Phone Number
Your Business Information:
- Your Company Name
- Your Company Address
- Your Company Phone Number
- Your Company Email
- Your Website (Optional)
- Your Logo (If you want to add one)
Document Details:
- Quote/Invoice Number (Crucial for tracking)
- Quote/Invoice Date
- Due Date (For invoices)
- Payment Terms (e.g., "Net 30," "Due upon receipt")
Line Items:
- Item/Service Description
- Quantity
- Unit Price
- Line Total (Quantity * Unit Price)
Summary Calculations:
- Subtotal (Sum of all Line Totals)
- Tax Rate (e.g., 5%, 10%)
- Tax Amount (Subtotal * Tax Rate)
- Discount (If applicable)
- Total Amount Due (Subtotal - Discount + Tax Amount)
Notes/Terms & Conditions:
- A space for any specific project notes, warranty information, or standard terms.
Setting Up Your Excel Sheet
Let's get practical. You can structure your Excel sheet with separate tabs for different functions, or combine them intelligently on one or two tabs. For a truly integrated quote and invoice template Excel, consider a setup where you input client and item details once.
Tab 1: Client List
- Columns: Client ID, Client Name, Address, Email, Phone.
- Purpose: Store all your client data here. You can use data validation in your main template to pull client names from this list, ensuring consistency.
Tab 2: Product/Service List
- Columns: Item ID, Item Name, Description, Unit Price.
- Purpose: Store your standard offerings and their pricing. This prevents typos and ensures you're always using the correct price.
Tab 3: Quote/Invoice Master This is where the magic happens.
- 01Client & Document Info: At the top, include fields for "Client Name" (use data validation linked to your Client List), "Quote/Invoice Number," "Date," "Due Date," and "Payment Terms."
- 02Line Items: Set up a table for your line items. Columns: "Item Name" (data validation linked to your Product/Service List), "Description" (can auto-populate from Product List or be manually edited), "Quantity," "Unit Price" (can auto-populate from Product List), and "Line Total."
- 03Formulas for Line Total: In the "Line Total" column (let's say it's column E, and Quantity is C, Unit Price is D), your formula would be
=C2*D2. Drag this down for all rows. - 04Summary Calculations: Below your line items table, set up fields for "Subtotal," "Tax Rate," "Tax Amount," "Discount," and "Total Amount Due."
- Subtotal Formula:
=SUM(E2:E10)(Adjust E10 to cover all your potential line item rows). - Tax Amount Formula:
=F2*G1(Assuming Subtotal is in F2 and Tax Rate percentage is in G1). - Total Amount Due Formula:
=F2-H1+I1(Assuming Subtotal in F2, Discount in H1, Tax Amount in I1).
Using Data Validation:
- For the "Client Name" column on your Quote/Invoice Master tab, go to Data > Data Validation.
- Allow: List.
- Source: Select the range of client names from your "Client List" tab.
- Do the same for "Item Name" using your "Product/Service List."
Converting Quotes to Invoices
The most efficient way to handle this is to have a "Quote" tab and an "Invoice" tab that can pull data from each other, or to have a master sheet where you can flag if a quote has been converted.
Method 1: Copy and Paste (with a twist)
- 01Create a dedicated "Quote" tab and an "Invoice" tab.
- 02When a quote is accepted, go to your "Quote" tab.
- 03Select all the relevant data (client info, line items, summary calculations).
- 04Copy this data.
- 05Go to your "Invoice" tab. Paste the data into the corresponding fields.
- 06Crucially, manually update the "Invoice Number" to a new, sequential invoice number and change the "Date" to the current date. Adjust the "Due Date" as per your payment terms.
- 07This method still involves some manual transfer but is faster than re-typing everything.
Method 2: Using Helper Columns and Lookups (More Advanced) This approach requires more initial setup but offers greater automation. You could use formulas like VLOOKUP or XLOOKUP if you structure your Quote tab to store accepted quotes and then pull that data into your Invoice tab. For instance, on your Invoice tab, you might have a field for "Quote Number." When you enter a quote number, XLOOKUP could pull the client details, and then other formulas could pull the line items. This is a more complex setup, often seen in more advanced quote and invoice template Excel solutions.
For a simpler, yet effective, template that streamlines this process, consider using a dedicated Quote Template or a Quotation Estimate Template from OpenWorksheet. These are pre-built to handle this conversion logic efficiently.
Automating Calculations
Excel's strength lies in its calculation capabilities. Ensure your formulas are robust.
- Line Totals: As mentioned,
=Quantity * Unit Price. - Subtotal:
=SUM(Range of Line Totals). Use cell references that automatically adjust if you add or remove line items. For example, if your line item totals are in column E, rows 2 through 20, you can use=SUM(E2:E20). If you anticipate needing more than 19 line items, increase the row number. - Tax Calculation:
=Subtotal * Tax Rate. Make sure your Tax Rate is entered as a percentage (e.g., 5% or 0.05). If your tax rate is in cell G1 and Subtotal in F2, the formula is=F2*G1. - Total Due:
=Subtotal - Discount + Tax Amount.
Conditional Formatting: You can use conditional formatting to highlight overdue invoices.
- 01Select your "Due Date" column.
- 02Go to Home > Conditional Formatting > New Rule.
- 03Use a formula to determine which cells to format.
- 04For example, if your Due Date is in column B, and today's date is represented by the
TODAY()function, you could use the formula:=B2<TODAY()(assuming B2 is the first due date in your selection). - 05Set the formatting to a light red fill or bold red text to flag overdue items.
Common Mistakes to Avoid
- Not Numbering Sequentially: Each quote and invoice needs a unique identifier. Skipping numbers or using inconsistent formats makes tracking a nightmare.
- Manual Data Entry Errors: Re-typing client names, addresses, or product details is a sure way to introduce mistakes. Use data validation or lookup functions to pull data from master lists.
- Forgetting Taxes or Discounts: Ensure your summary calculations properly account for all applicable taxes and any agreed-upon discounts. Double-check the formulas.
- Lack of Clear Payment Terms: Ambiguity around payment terms leads to cash flow problems. State them clearly on every invoice.
- No Space for Notes: Important project-specific details or terms and conditions often get lost. Ensure there's a designated area for these.
- Not Backing Up: Excel files can be corrupted or lost. Regularly back up your important financial documents.
Customizing for Your Needs
Your business is unique, so your quote and invoice template Excel should be too.
Adding Your Logo and Branding
To add your logo:
- 01Go to the "Insert" tab.
- 02Click "Pictures" and choose "This Device" or "Online Pictures."
- 03Select your logo file.
- 04Resize and position it appropriately, typically in the header or top-left corner of your template.
- 05You can also adjust font styles, colors, and add your company's tagline to align with your brand.
Tracking Payment Status
You can add a "Payment Status" column (e.g., "Paid," "Pending," "Overdue") to your invoice tab. You can then use formulas or manual updates to track this. A simple dropdown list using data validation is very effective here. You could even use conditional formatting to visually highlight "Paid" invoices in green and "Overdue" in red.
Using Pro Forma Invoices
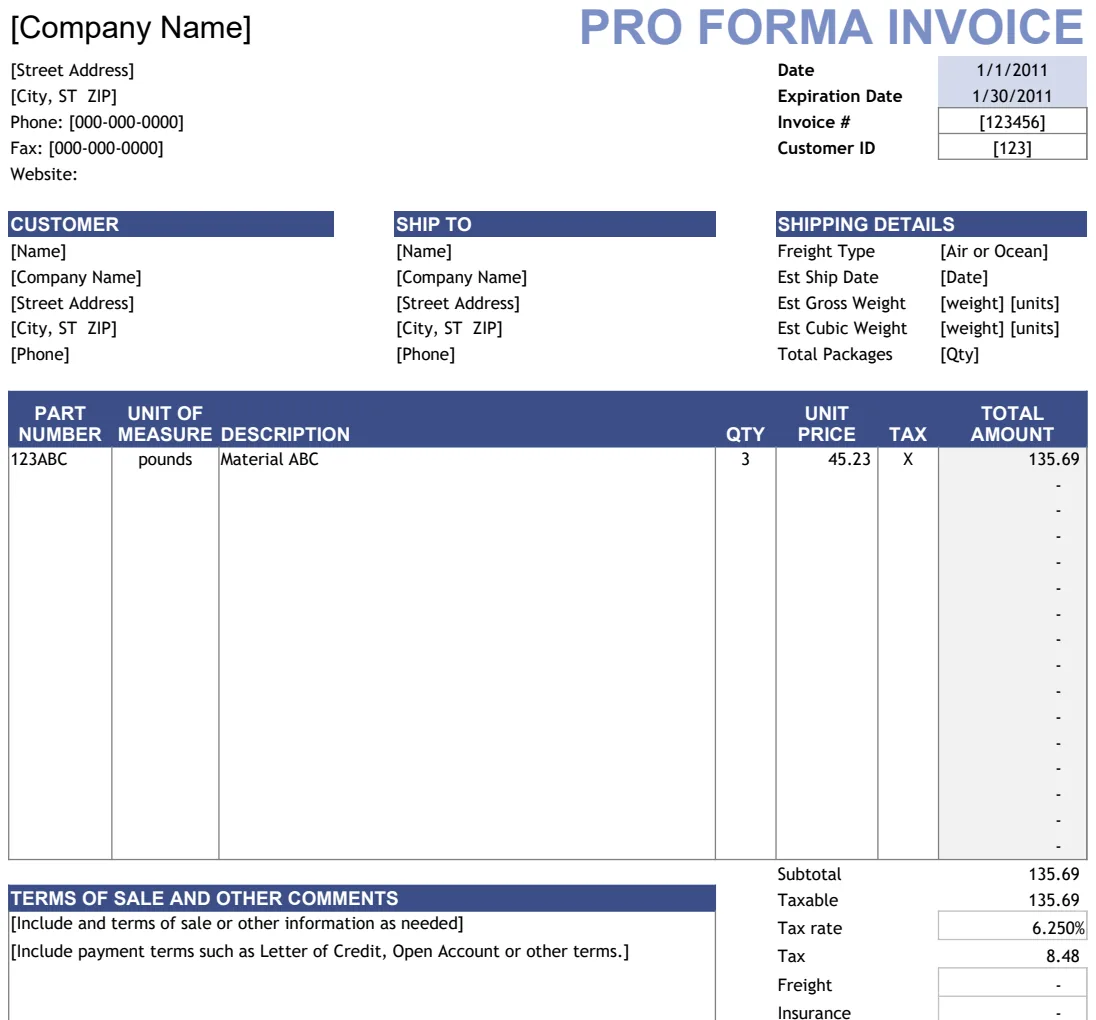
For certain industries or client agreements, you might need a pro forma invoice. This document is essentially a preliminary bill of sale sent to customers detailing the goods or services to be supplied and their cost. It's used to outline the exact terms of a sale before shipment or delivery. A template like Pro Forma Invoices or the Pro Forma Invoice Template can be invaluable here, allowing you to generate these documents easily and then convert them into final invoices once the transaction is complete.
Integrating with Other Tools
While Excel is powerful, for very high-volume businesses, you might eventually consider more integrated accounting software. However, for most small businesses, a well-structured Excel quote and invoice template Excel is a highly effective and cost-efficient solution. The OpenWorksheet library offers many pre-built templates that can save you hours of setup time, with a one-time purchase for unlimited downloads.