Log your miles in Excel in under an hour.
Learn to create a functional Excel mileage log in under an hour, ideal for tracking business travel and tax deductions.
By the end of this guide, you'll have a functional, customizable mileage log in Excel, ready to accurately track your business travel. You can start using this right away, whether for tax deductions, client billing, or simply understanding your vehicle’s usage. If you've searched for a "mileage log template Excel free download," this is your practical starting point.
This isn't about abstract concepts; it's about setting up a system that works for you. We’ll cover the essential columns, how to input data correctly, and a few common pitfalls to avoid. Think of this as building your own reliable tool, not just finding a pre-made one.
Essential Columns for Your Mileage Log
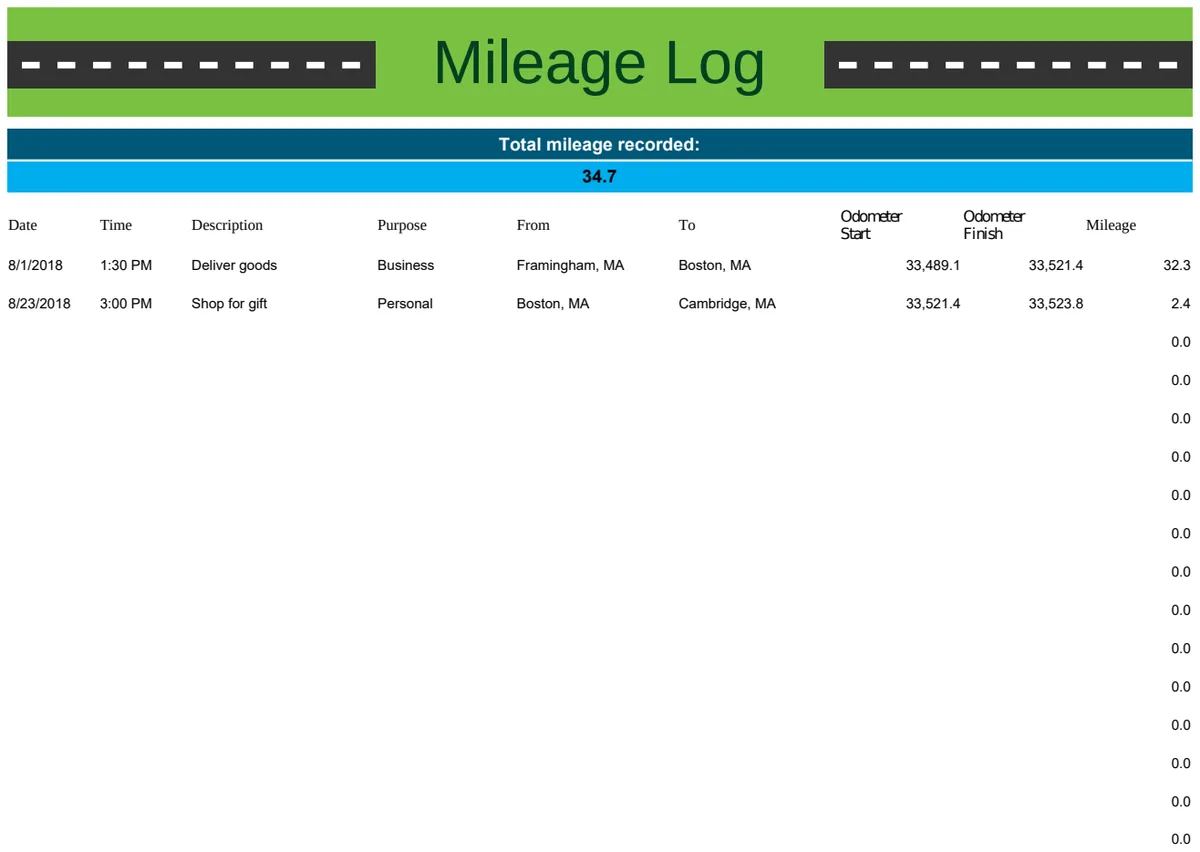
A good mileage log needs clarity and completeness. You’ll want to include at least the following columns in your Excel sheet.
- Date: The specific date the trip occurred. This is crucial for chronological tracking.
- Starting Odometer: The odometer reading before you begin your trip. This is your baseline.
- Ending Odometer: The odometer reading upon completion of the trip.
- Mileage Driven: This will be a calculated field,
Ending Odometer - Starting Odometer. - Purpose of Trip: A brief description of why you drove. Examples: "Client Meeting - ABC Corp," "Office to Warehouse," "Supplies Purchase."
- Starting Location: Where your trip began (e.g., "Home," "Office," "Client Site A").
- Ending Location: Where your trip concluded (e.g., "Office," "Home," "Client Site B").
- Business/Personal: A clear indicator of whether the trip was for business or personal use. This is vital for tax purposes.
For those needing a more structured approach, especially for employee tracking, a template like the Monthly Mileage Log can provide pre-built fields for these exact requirements, ensuring consistency across multiple users.
Setting Up Your Excel Sheet
Let's walk through creating this from scratch in a blank Excel workbook.
- 01Open a New Workbook: Start with a fresh Excel file.
- 02Add Column Headers: In the first row (Row 1), type your column titles as listed above. For example, A1 will be "Date," B1 "Starting Odometer," and so on.
- 03Format the Date Column: Select Column A. Right-click and choose "Format Cells." Select "Date" from the Number tab and pick a format you prefer (e.g., MM/DD/YYYY).
- 04Format Odometer Columns: Select Columns B and C. Right-click and choose "Format Cells." Select "Number" and set the decimal places to 0, as odometers typically don't show fractions of a mile.
- 05Add the Mileage Formula: In cell D2 (assuming your headers are in Row 1), enter the formula
=IF(AND(ISNUMBER(B2),ISNUMBER(C2)),C2-B2,""). This formula checks if both the starting and ending odometer readings are valid numbers before calculating the difference. If not, it leaves the cell blank. Drag this formula down to apply it to subsequent rows. - 06Add the Business/Personal Column: In column H, you can use data validation. Select Column H, go to the "Data" tab, and choose "Data Validation." Under "Allow," select "List." In the "Source" box, type
Business,Personal. This will create a dropdown menu for each cell, ensuring consistent entries. - 07Add a Total Mileage Row: Below your data entries, you'll want a summary. For instance, in a cell below your last mileage entry (e.g., D50 if your data goes to row 49), you can sum up the business mileage. If your "Business/Personal" column is H, and "Mileage Driven" is D, you might use a formula like
=SUMIFS(D2:D49,H2:H49,"Business"). This sums all mileage where column H explicitly says "Business."
This setup provides a solid foundation for a mileage log template Excel free download that you've built yourself.
Calculating Mileage Driven Automatically
The formula for "Mileage Driven" is where Excel really shines. As mentioned, in cell D2, you'll enter:
=IF(AND(ISNUMBER(B2),ISNUMBER(C2)),C2-B2,"")
This formula does a few things:
ISNUMBER(B2)andISNUMBER(C2): These check if the values in the starting and ending odometer cells are actually numbers. This prevents errors if you accidentally type text or leave a cell blank.AND(...): This ensures that both conditions (starting and ending readings being numbers) must be true.C2-B2: If both are numbers, it performs the subtraction to get the miles driven.IF(..., ..., ""): This is the core. If theANDcondition is true, it shows the calculated mileage. If not, it displays nothing (""), keeping your sheet clean and error-free.
Remember to drag the fill handle (the small square at the bottom-right of the selected cell) down to apply this formula to all rows where you'll be entering data.
Filtering and Summarizing Your Data
Once you start populating your log, you’ll want to analyze it. Excel’s filtering capabilities are perfect for this.
- 01Apply Filters: Select your header row (Row 1). Go to the "Data" tab and click "Filter." Dropdown arrows will appear next to each column header.
- 02Filter by Purpose: Click the arrow in the "Purpose of Trip" column and select specific entries (e.g., "Client Meeting"). This shows only those trips.
- 03Filter by Business Use: Click the arrow in the "Business/Personal" column and select "Business." This is your primary filter for tax purposes.
- 04Sum Filtered Data: While a filter is active, you can see subtotals. For a grand total of filtered business mileage, you can use the
SUBTOTALfunction. For example, if you've filtered for business travel and want to sum the "Mileage Driven" column (D), in a cell below your data, you could enter=SUBTOTAL(9, D2:D49). The9tellsSUBTOTALto perform a SUM operation, and it will only sum the visible (filtered) rows.
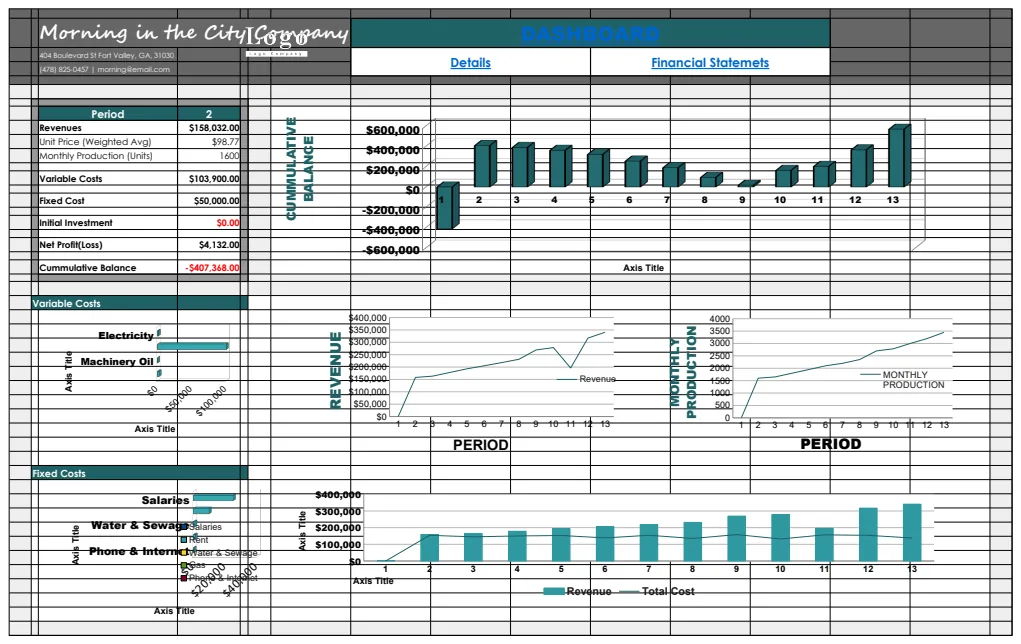
For those who want to visualize their mileage, a template like Mileage Log with Charts can automatically generate graphs showing your travel patterns over time, which is excellent for presentations or personal review.
Common Mistakes to Avoid
Even with a well-structured template, errors can creep in. Being aware of these can save you headaches later.
- Inconsistent Entries: Not consistently filling out all required fields for each trip. A missing odometer reading or purpose can invalidate a whole entry.
- Typing Errors in Odometer Readings: Entering "12345" when it should be "12346" is easy to do. Double-check these critical numbers, especially when they are close.
- Mixing Business and Personal: Failing to correctly categorize trips as business or personal. This is the most common and potentially costly mistake for tax deductions. Ensure your "Business/Personal" column is always accurate.
- Forgetting to Log Trips: The most obvious mistake is simply forgetting to record a drive. Make it a habit to log mileage immediately after a trip, or at the end of each day.
- Incorrect Formula Application: Not dragging the mileage calculation formula down to all rows, or having the wrong cell references in your SUMIFS formula.
Advanced Tips and Customization
This basic setup is highly adaptable.
- Adding a "Notes" Column: Sometimes, you need more context than "Client Meeting." A "Notes" column (e.g., Column I) can capture details like the client's name, specific project, or any unusual circumstances.
- Conditional Formatting: You can use conditional formatting to highlight specific types of trips. For example, select the "Business/Personal" column, go to "Conditional Formatting" > "Highlight Cells Rules" > "Text that Contains," and enter "Business." You could then set it to fill with a light green. This provides a quick visual cue.
- Calculating Reimbursement: If your purpose is reimbursement, add a "Rate per Mile" cell (e.g., in cell K1, enter
0.655for a common business rate). Then, in a new column (e.g., Column J, "Reimbursement Amount"), use the formula=IF(H2="Business",D2*$K$1,""). The$signs lock the reference to cell K1 so it doesn't change when you drag the formula down.
For tracking fuel efficiency alongside mileage, the Gas Mileage Calculator & Log integrates these calculations, giving you a dual view of your vehicle expenses and performance.
Addressing Follow-Up Questions
Can I use this for multiple vehicles?
Yes, you can. For each vehicle, you would typically create a separate sheet within the same Excel workbook. Simply duplicate your existing sheet and rename it (e.g., "Truck Mileage," "Car Mileage"). Ensure that the starting and ending odometer readings are specific to the vehicle being logged on that sheet.
How do I handle round trips?
For round trips, you log them as a single entry. The "Starting Location" would be your departure point (e.g., "Office"), and the "Ending Location" would be your return point (e.g., "Office"). The "Purpose of Trip" should reflect the overall goal (e.g., "Client Meeting - ABC Corp Round Trip"). The mileage calculation will automatically cover the entire distance between the first start and final end odometer readings.
What if my odometer readings aren't exact?
While precision is ideal, especially for tax purposes, occasional slight inaccuracies are usually acceptable. The key is consistency and a reasonable effort to be accurate. If you miss logging a trip and have to estimate based on your memory or mapping services, note that estimation in the "Notes" column. For critical tracking, it's always best to log immediately after each trip.
Is there a template that includes charts automatically?
Yes, if you prefer a pre-built solution with visualizations, you can find templates designed for this. A template like Mileage Log with Charts offers integrated graphing features, allowing you to see trends in your mileage without needing to set up charts manually. For a small, one-time fee, you can access a library of such specialized templates, including this one, for unlimited downloads.